Things you need to know about your DSLR cameras

Feb 3, 2020 | Blog

5 Things You Need to Know About Your DSLR Camera

If you just purchased your first DSLR camera, congratulations! You’re well on your way to taking better photos, the kind you’ll look back on and treasure for years to come.

The next step is learning about all the amazing things your camera can do. If you learn how to really take care of it and use its features to the fullest, you’ll be able to take your photography skills to the next level and capture special moments in a beautiful, artistic way. 

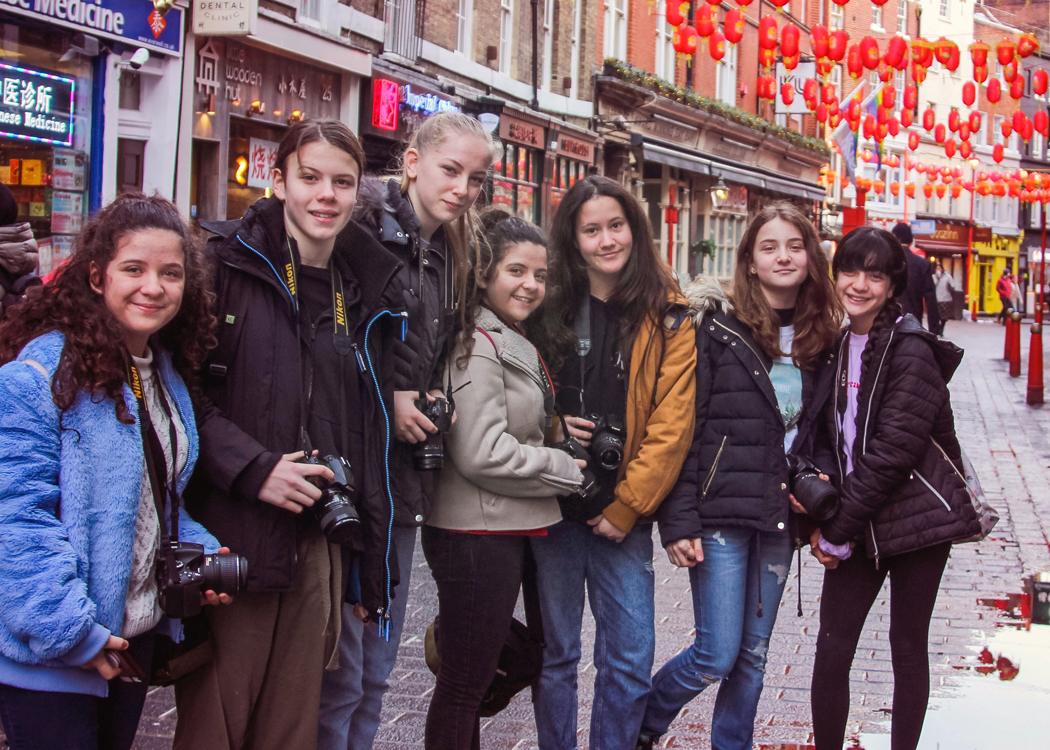
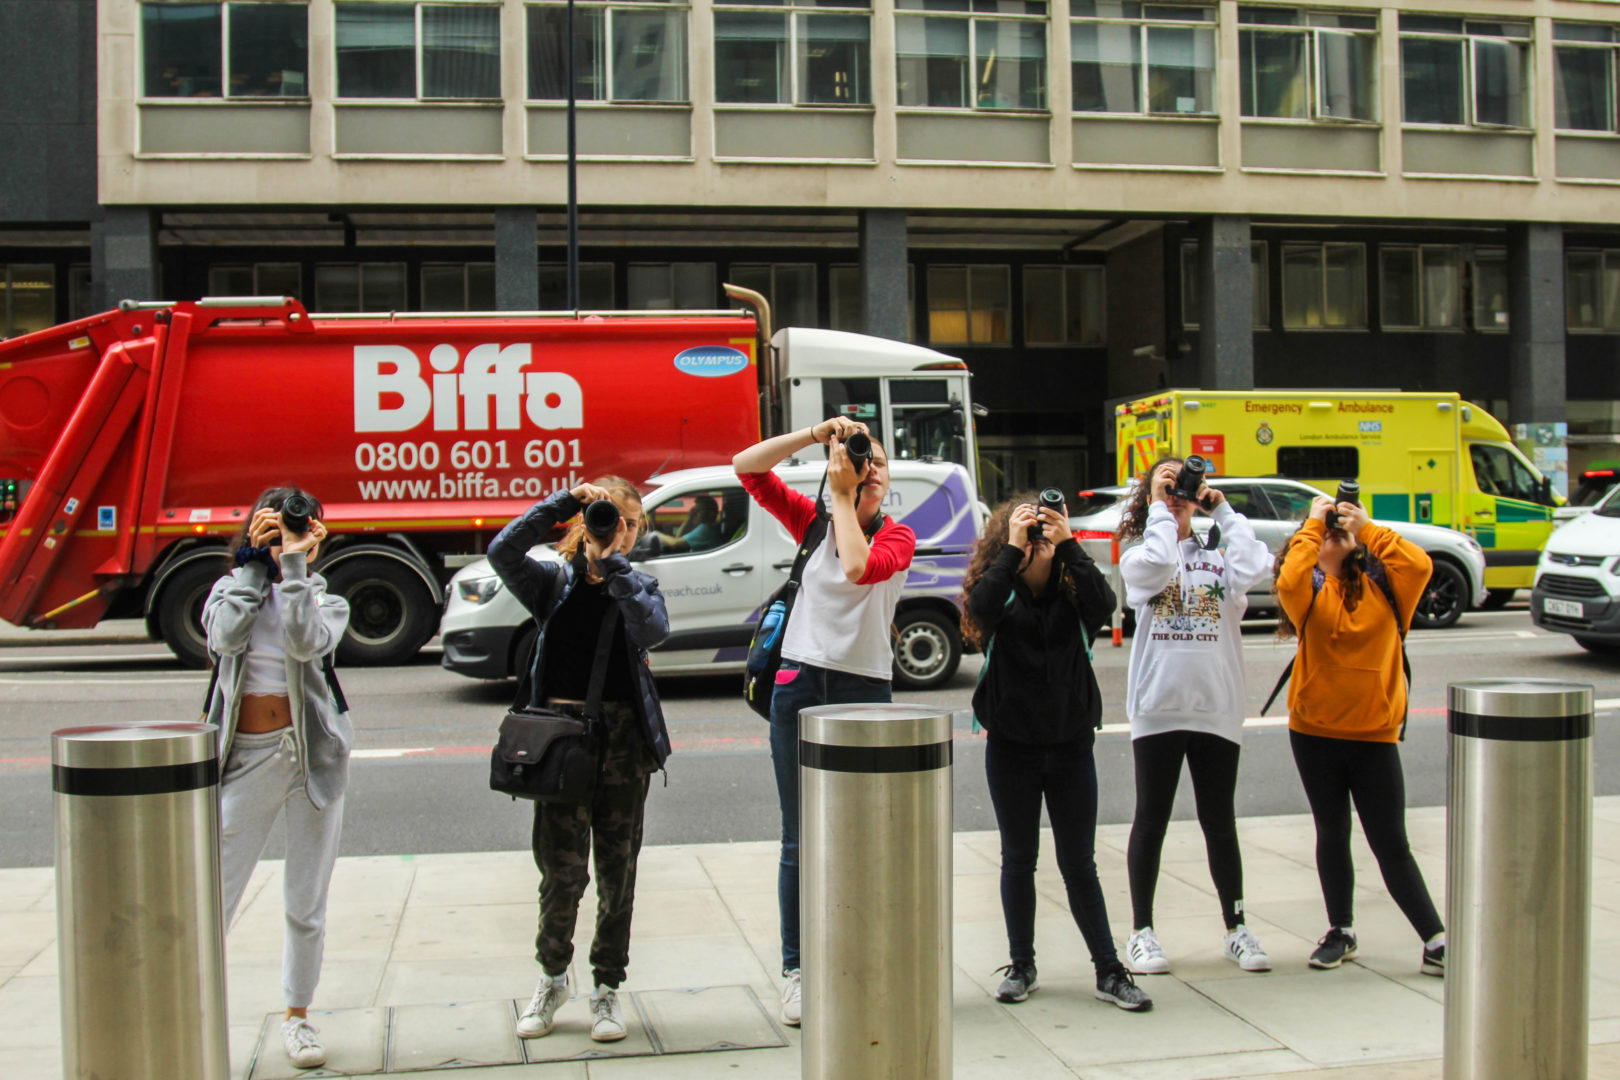
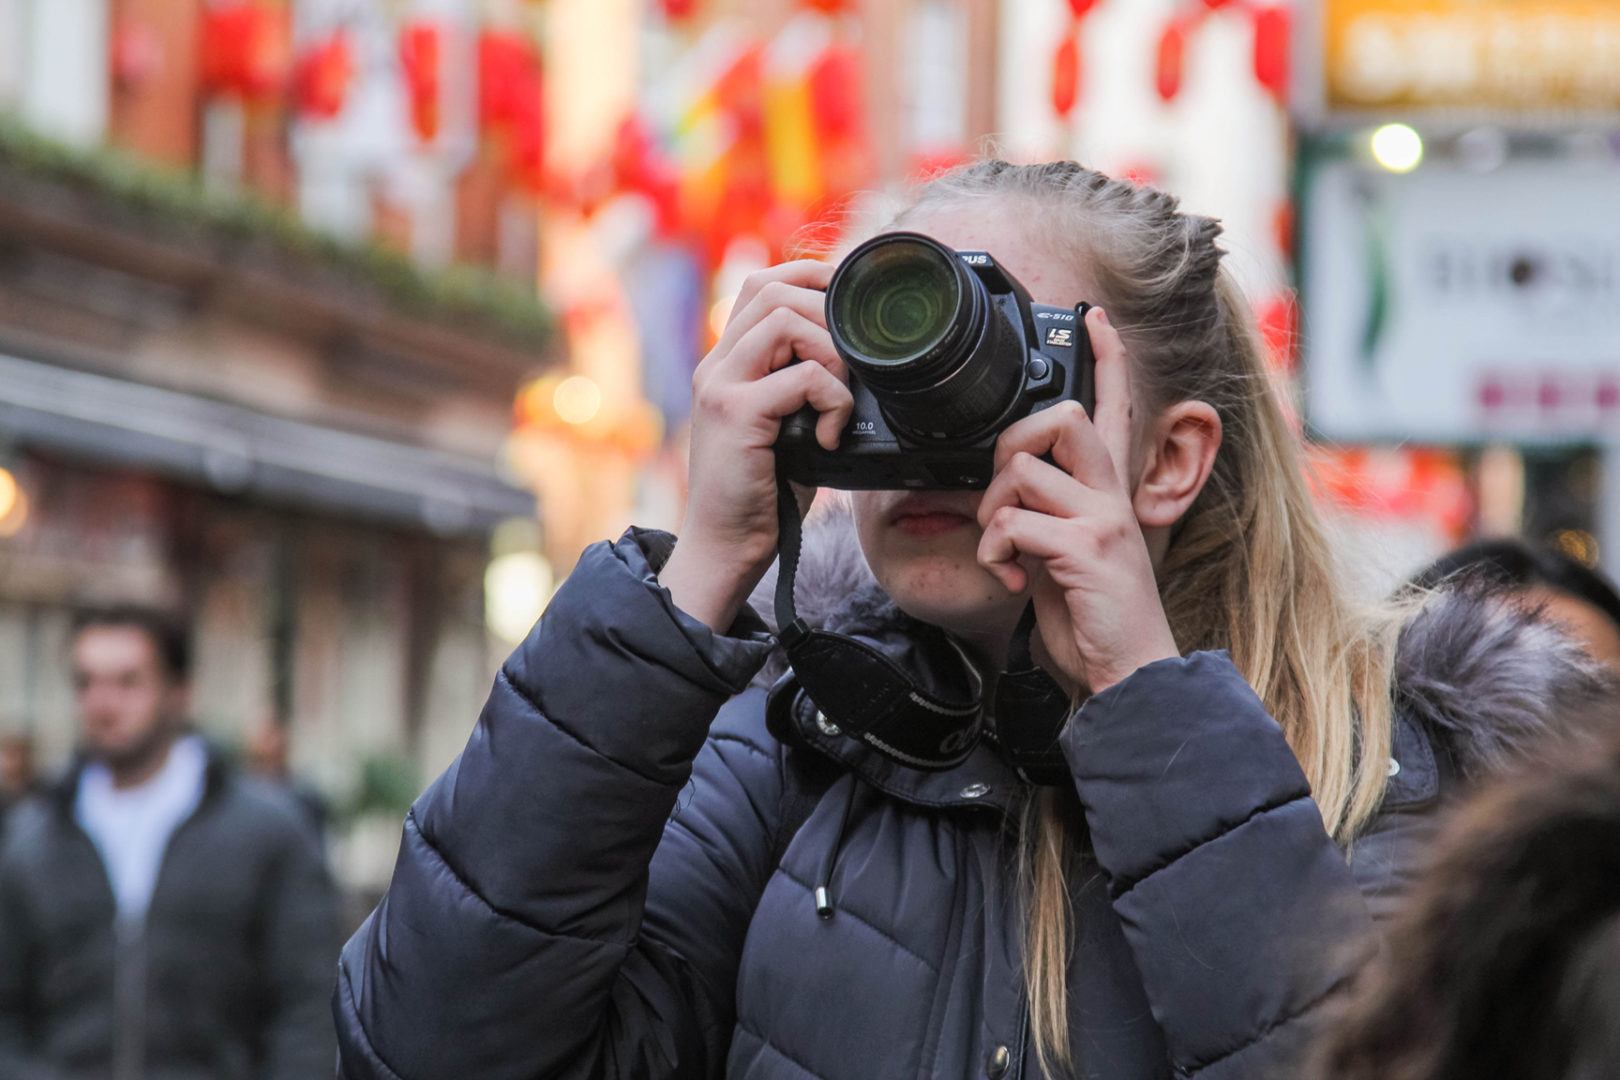
That’s exactly what I’ve been doing with my teenager DSLR workshop group. After teaching them about camera settings, exposure triangle and composition, we have been going into London to practise and enhance their new skills.

teenagers learning about DSLR camerasteaching DSLR camera skills to teenagers


Below are a few things you need to know about your DSLR camera to take better photos.

1. Learn about your camera’s shooting modes
Different shooting modes allow you to have more control over certain functions in the exposure triangle. These modes usually include aperture priority, shutter priority, program, and manual.learning how to use your DSLR camera
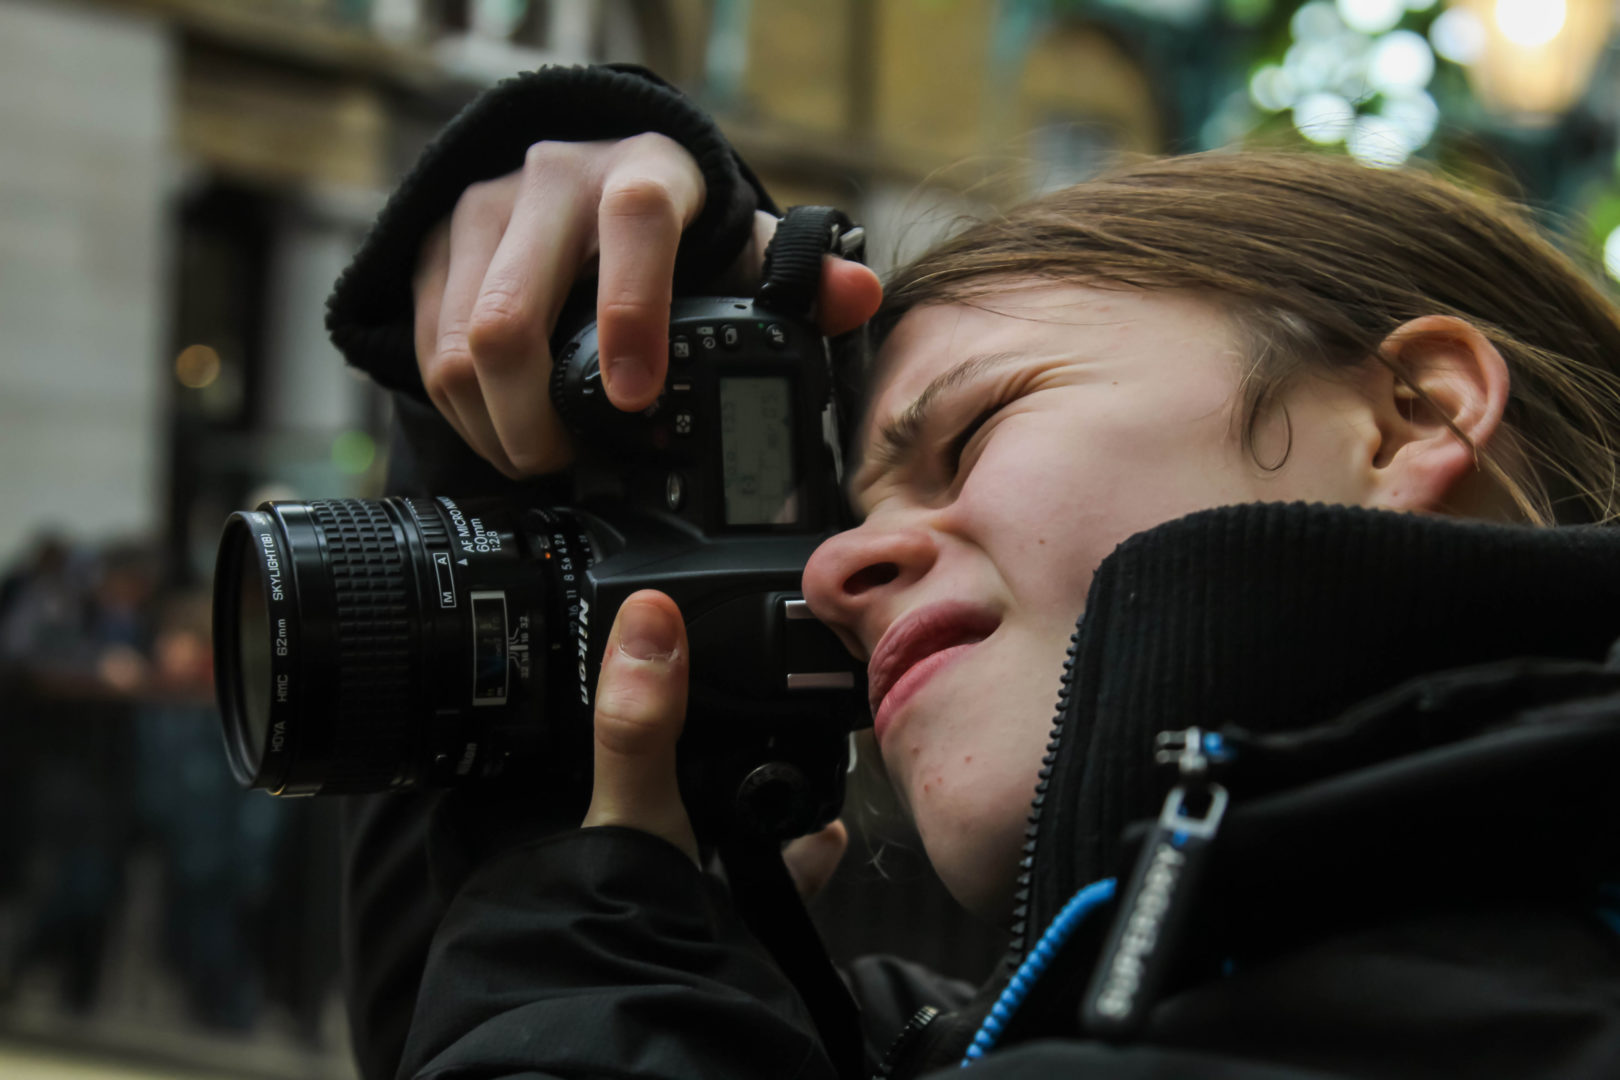
2. Learn the “exposure triangle”
Three variables determine the exposure of a photograph: aperture, shutter speed, and ISO. In order to produce a great photo, you need to balance all three. Aperture (a measure of how open or closed the iris is on the lens), shutter speed (how long the sensor is exposed to light) and ISO (light sensitivity) make up the exposure triangle.learning how to use your DSLR camera
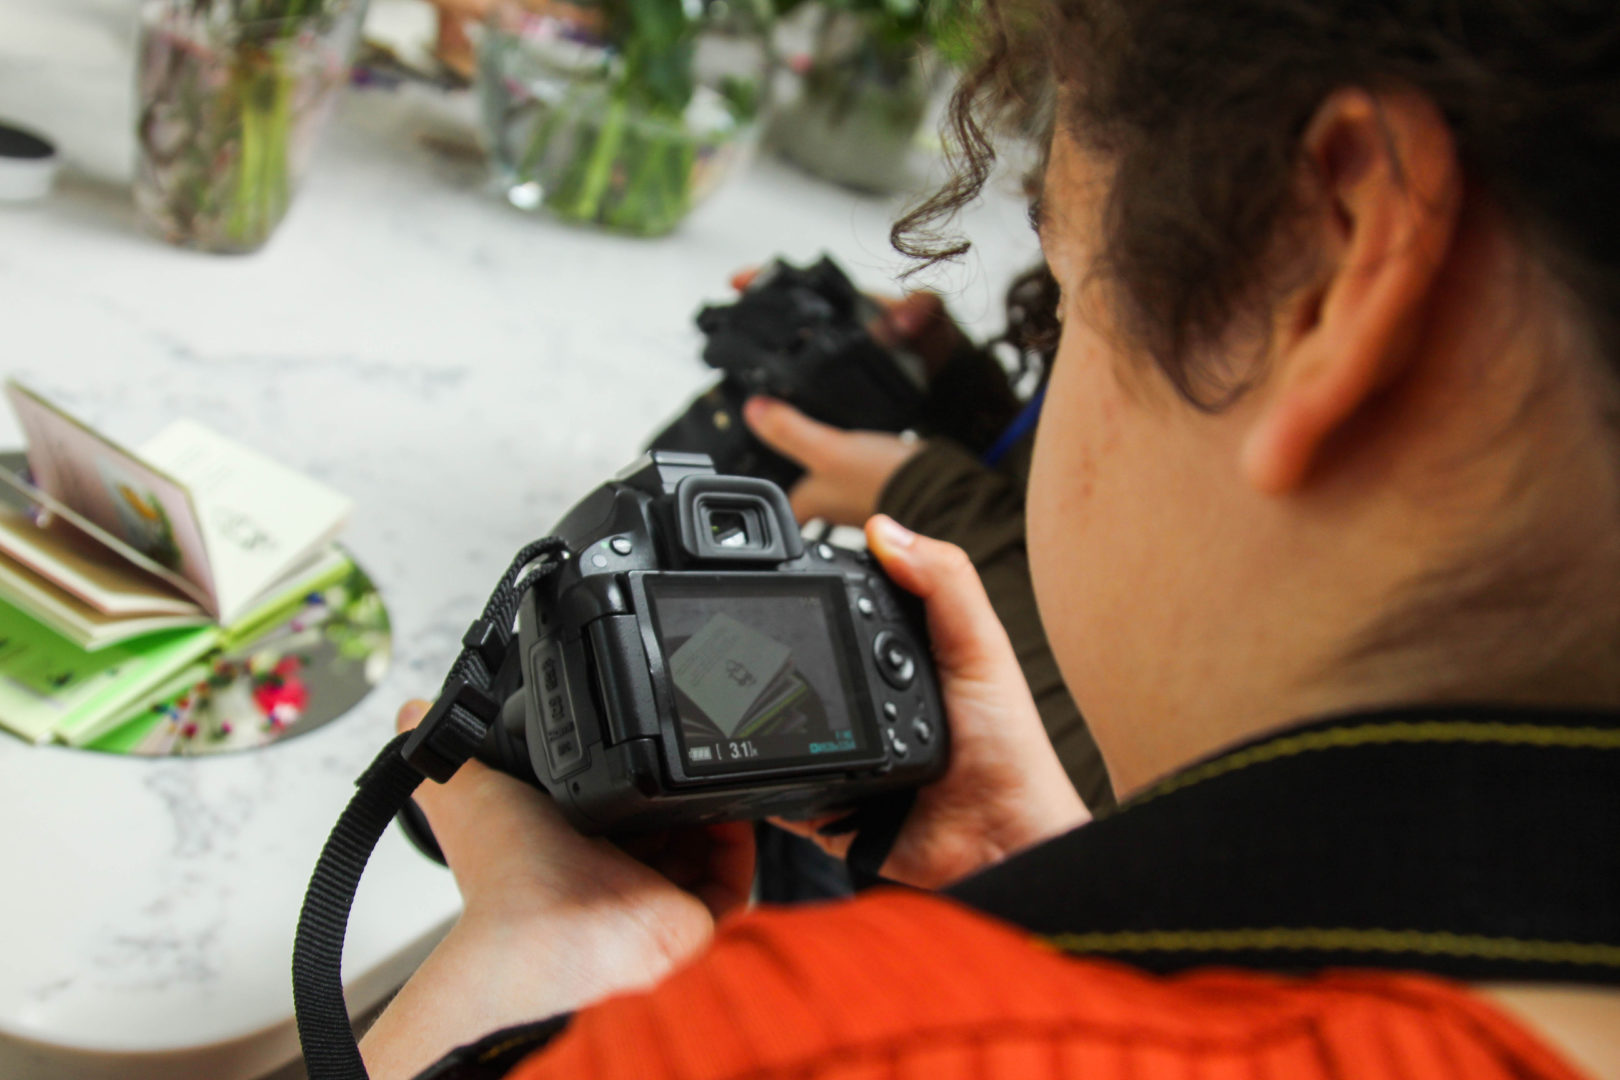
3. Think about your lenses
DSLR cameras are unique because you can attach a variety of lenses to them. Keep in mind that you’ll want to use different lenses for different situations— choosing the right lens can be just as important as knowing how to use the features on your camera.learning how to use your DSLR camera
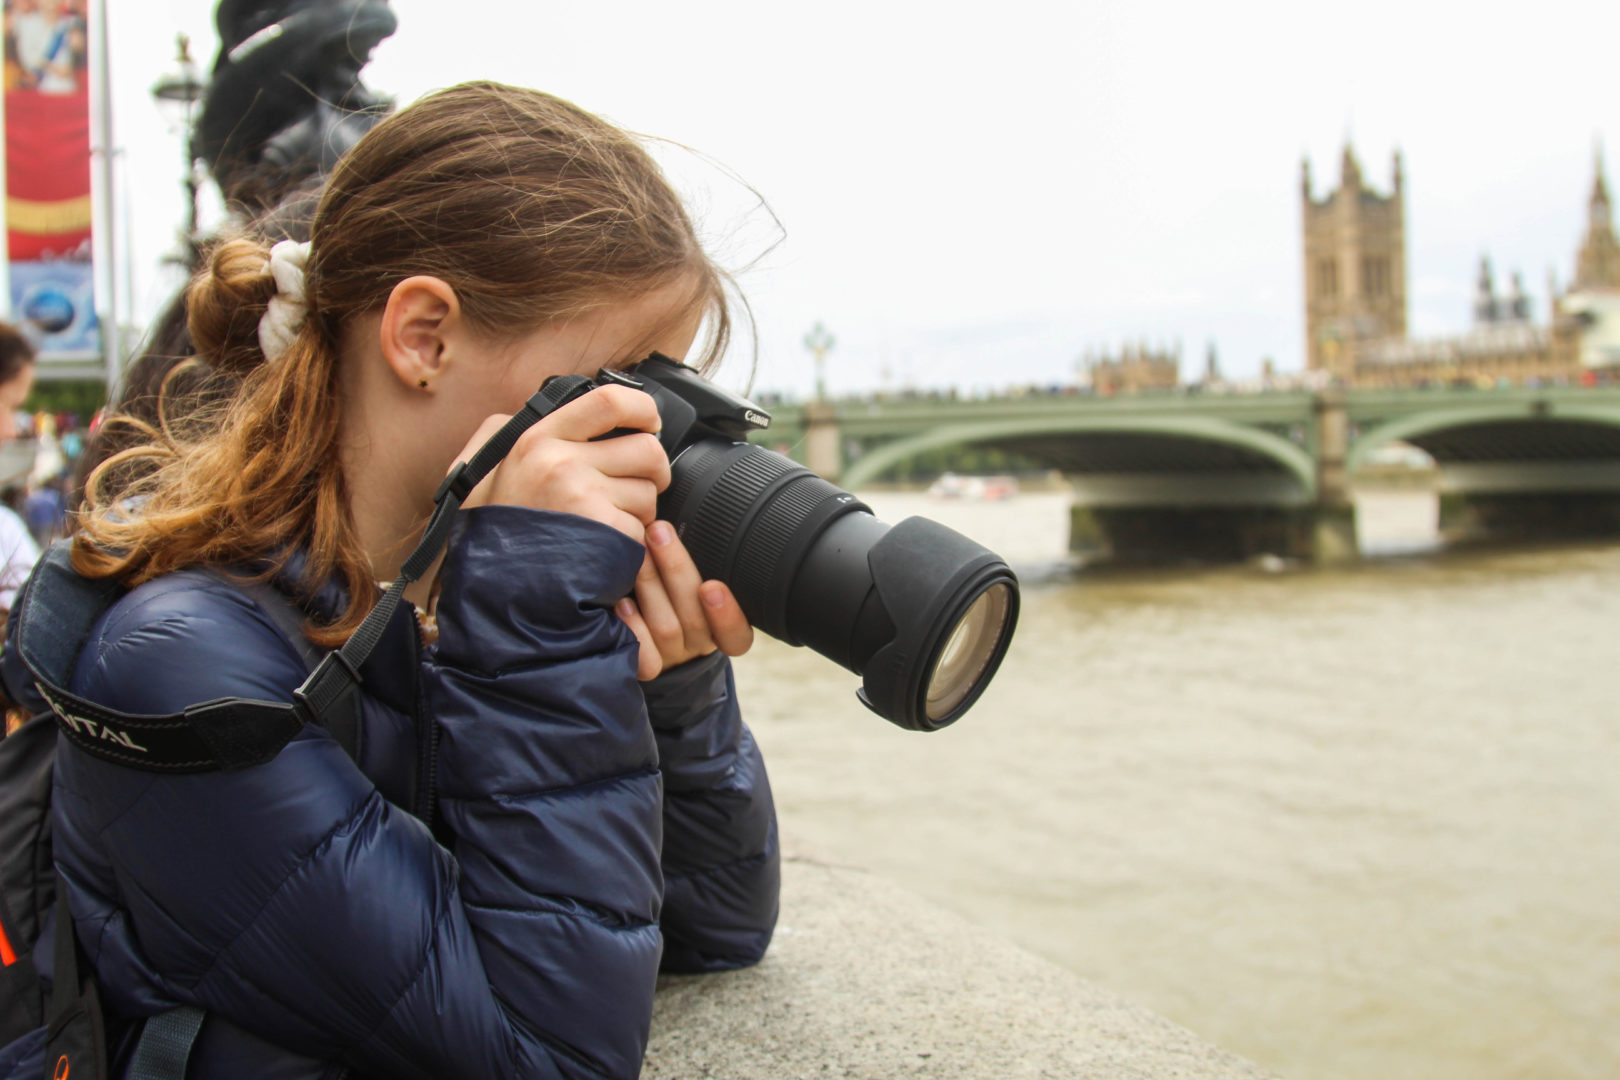
4. Keep an eye on the white balance
White balance affects the color tone of your images. Different light sources give off different coloured light. Get familiar with the different options your camera has, such as auto, daylight, cloudy, incandescent, etc. learning how to use your DSLR camera
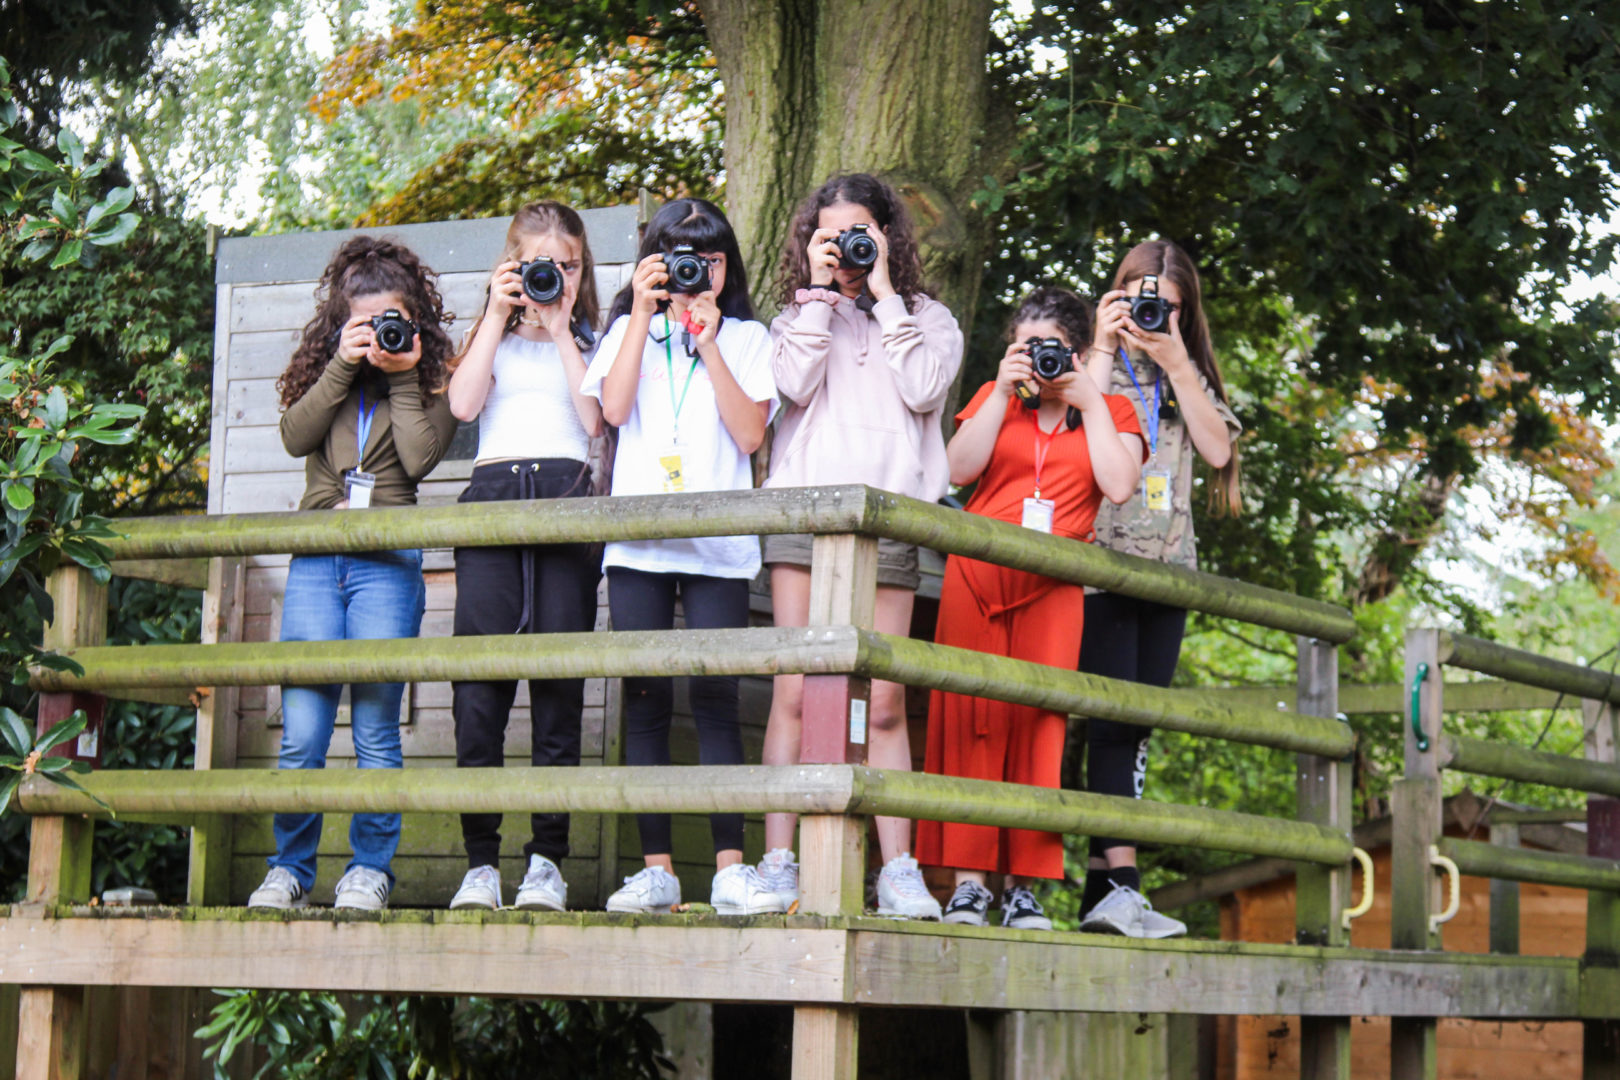
5. Make sure your sensor stays clean
Especially if you’re planning on using your camera a lot, you’ll need to make sure your sensor stays clean. Check whether your camera has an auto-cleaning function. Otherwise, you’ll have to get your camera’s sensor professionally cleaned.HEre

learning how to use your DSLR camera

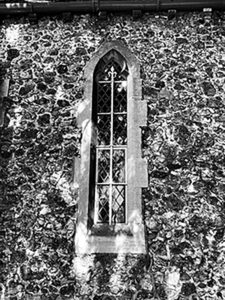
Here are a few examples of the gorgeous photos these girls have taken:

Remember: just like any skill, getting good at photography requires a lot of hard work, patience, and practice. Don’t be discouraged if you don’t get the results you want right away. As you experiment and familiarize yourself with your camera, you’ll start producing better photos.

Looking to learn more about your DSLR camera?

Consider taking a beginner basic digital photography workshop or a one-to-one session.

Contact me for more details.

 by Follow these top 10 tips to take better photos on your mobile phone.


  1.  CLEAN YOUR LENS

I know this may sound obvious, but you will be amazed by the amount of dirt and smudges you find on your lens build up from your pockets, handbags and kids.  So, get into the habit of cleaning your phone with a tissue or soft part of your clothes (do not wipe on your jeans or fingers!!).

  1. GET ON THE GRID

The best way of achieving straighter images (especially for landscape) is by enabling the grid feature on your phone. This should be in your camera settings and nine equal boxes will appear when you switch your camera on. Use the 3×3 grid to align your images and hey presto no more leaning tower of Pisa!

  1. RELY ON NATURAL LIGHT

Understanding light is one of the most important factors in any photos. It can transform the mood and atmosphere of the photo. Try to use natural light on your subject and avoid using built-in flash as they are usually unflattering or can be too harsh.

  1. DITCH THE ZOOM

By zooming in too much the quality of your image decreases, and it appears more pixelated. To get better and sharper images try to get closer to your subject or use minimal zoom.

  1. GO PORTRAIT!

Ever wondered how professional portraits stand out? (Well, the “not so very hidden” secret is that we create a shallow depth of field by setting our aperture wide). You can achieve this look by using the portrait mode on your phone. The camera phone blurs the background and puts the focus on the subject. Best used for individual, couple’s portraits and even makes food look good but practice by varying the distance.

  1. SHOW ME THE LIGHT

Light is key when taking good photos so understanding where your light is and how to position yourself/subject is important. Put your camera phone on selfie and do a full spin to see where the light is hitting you most flattering. You may also want to try backlight so when the light source is behind you, it creates a halo effect.

  1. HONE IN ON YOUR FOCUS

Phone cameras are normally set to automatic focus but sometimes the subject is not so obvious, or you may want to change the focus point. To adjust where you want your phone camera to focus, simply tap on the subject and a square icon will appear. This will shift your focus and sharpen your subject.

  1. VARY YOUR SHOTS

Rather than taking the same type of shot over and over again, try changing the perspective (go higher up or lower down). Another tip when photographing building or landmarks is to use the panoramic mode vertically (going up or down). This lets you take a series of photos and stitch them together into one wide or tall image.

  1. READY, STEADY, GO!

Nobody likes blurry images, well unless you are creating a purpose blur! To minimise camera shake use both hands or lean on a surface, wall or even a friend’s shoulder to create stability. For low light conditions, time lapse and long exposure, purchasing a small tripod can be more helpful.

  1. LOOK THROUGH AND EDIT YOUR IMAGES

Taking a good photo on your mobile phone is just the first step and with a few tweaks you can turn your good photos into great photos! Most mobile phones now come with editing features such as exposure, contrast, white balance, crop, sharpness, and magic wand. If you want to further edit your images, there are editing apps such as Snapseed, Adobe Photoshop Express and Instagram offer further features as well as one tap filters. Try converting your image to black and white to create a certain mood!

I hope by following these top tips you will see a difference and start taking better photos on your mobile phone. Practising and experimenting is the best way to learn, so have a play on your phone and see what works for you but most importantly have fun!!

If you want to further develop and compose photos creatively then why not sign up to my adult mobile phone workshop. I will be running them at my home studio in North London, N20 from January 2024. Contact me for further details.

2 Comments

  1. Rekha Essex

    Thank you so much Mona for teaching Nikhita such a fabulous skill. She has loved the workshops and the trips to London and is really looking forward to the next one….

    Reply
    • Mona Naem

      Thank you so much Rekha. I have absolutely LOVED seeing Nikhita develop and she just keeps getting better and better. Pretty soon I will be asking her to be my assistant!

      Reply

Submit a Comment

Your email address will not be published. Required fields are marked *

This site uses Akismet to reduce spam. Learn how your comment data is processed.

error: Content is protected !!