by Follow these top 10 tips to take better photos on your mobile phone.
- CLEAN YOUR LENS
I know this may sound obvious, but you will be amazed by the amount of dirt and smudges you find on your lens build up from your pockets, handbags and kids. So, get into the habit of cleaning your phone with a tissue or soft part of your clothes (do not wipe on your jeans or fingers!!).

- GET ON THE GRID
The best way of achieving straighter images (especially for landscape) is by enabling the grid feature on your phone. This should be in your camera settings and nine equal boxes will appear when you switch your camera on. Use the 3×3 grid to align your images and hey presto no more leaning tower of Pisa!

- RELY ON NATURAL LIGHT
Understanding light is one of the most important factors in any photos. It can transform the mood and atmosphere of the photo. Try to use natural light on your subject and avoid using built-in flash as they are usually unflattering or can be too harsh.

- DITCH THE ZOOM
By zooming in too much the quality of your image decreases, and it appears more pixelated. To get better and sharper images try to get closer to your subject or use minimal zoom.

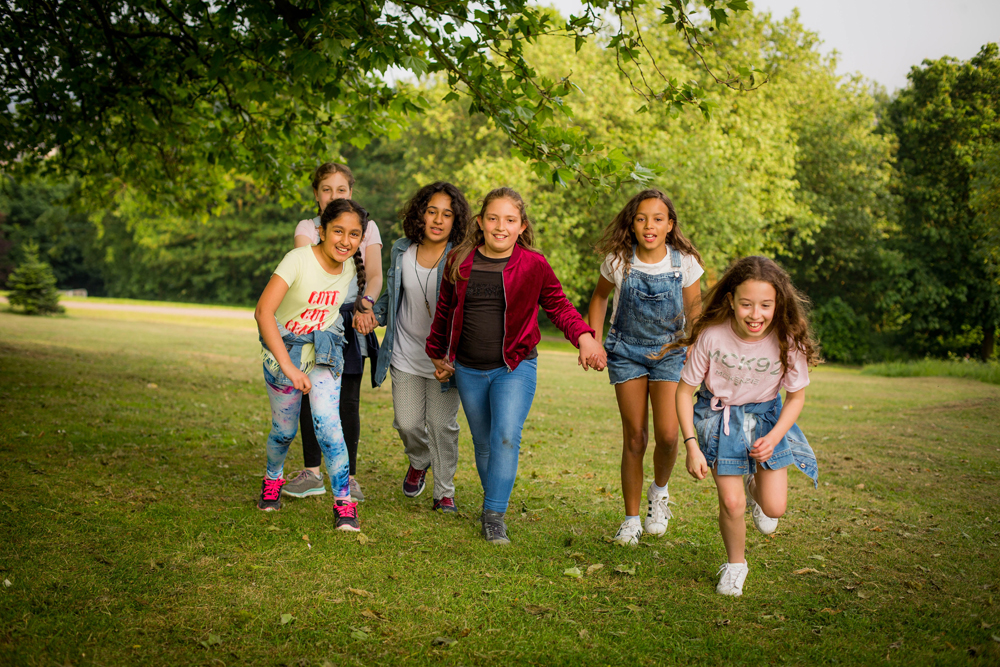
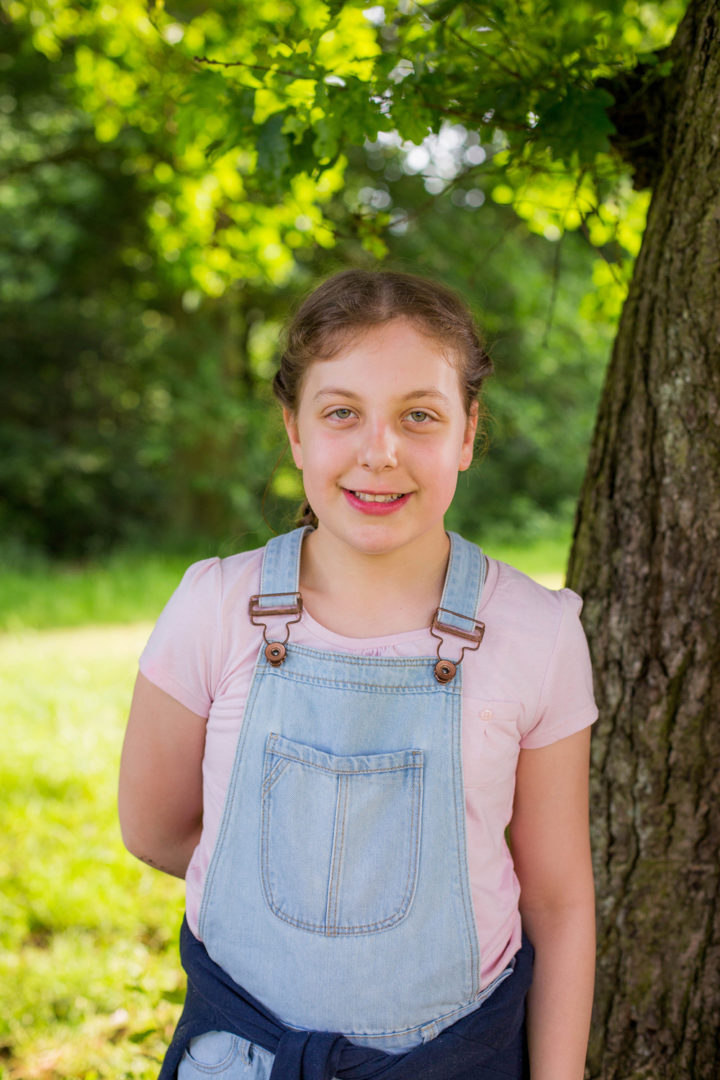
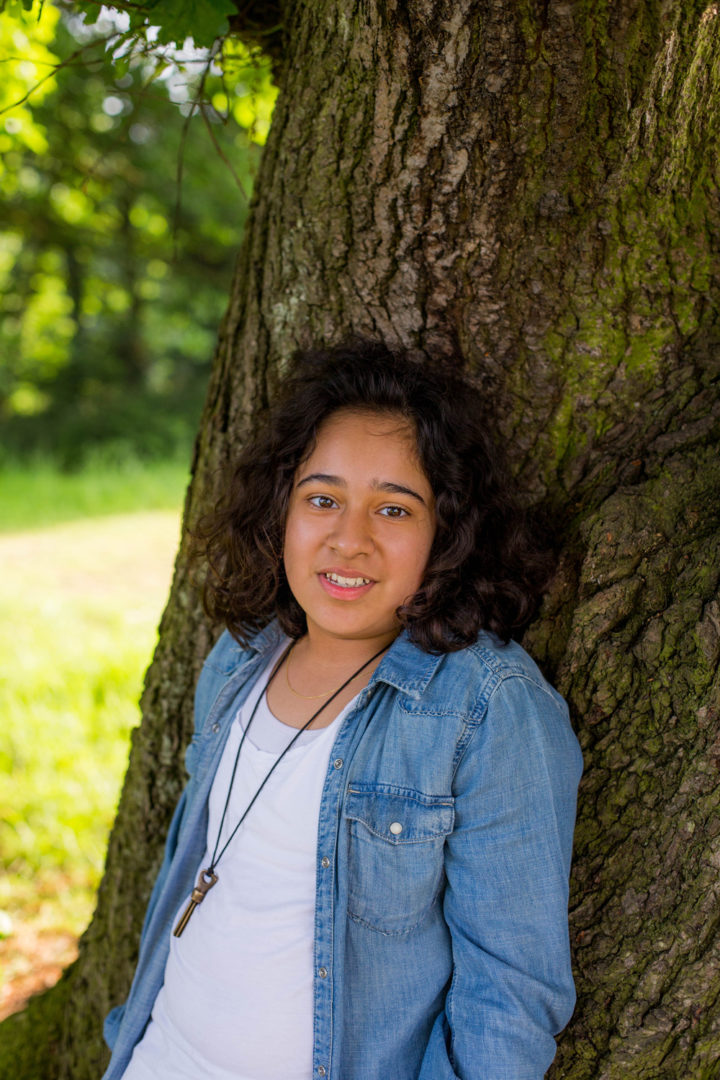
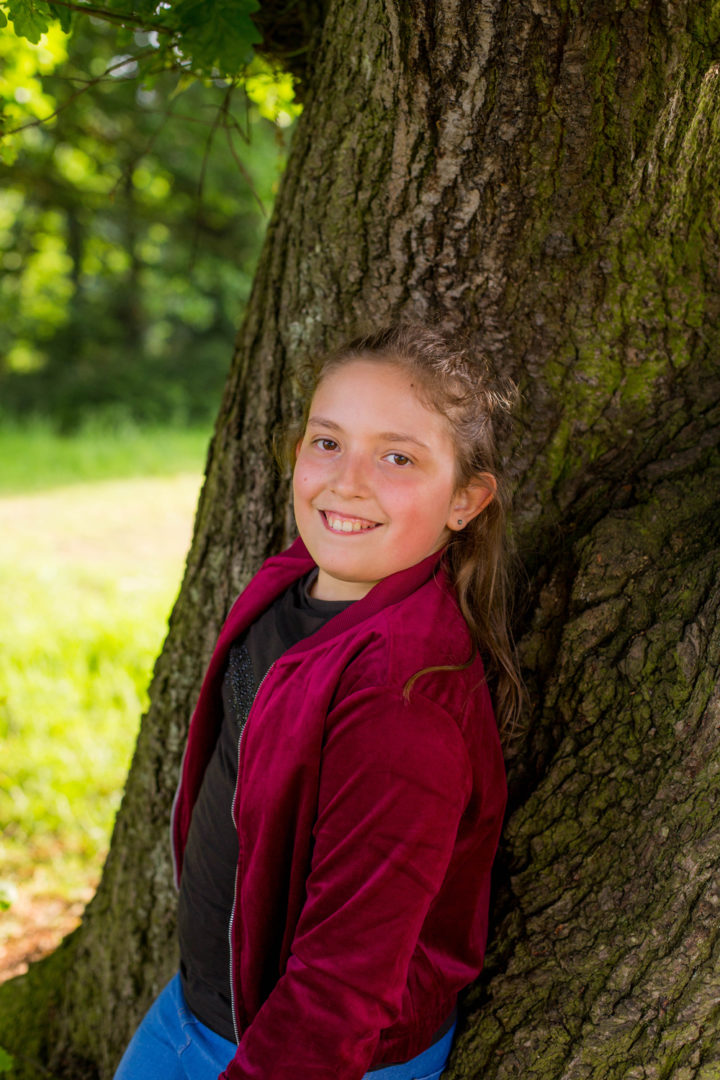
- GO PORTRAIT!
Ever wondered how professional portraits stand out? (Well, the “not so very hidden” secret is that we create a shallow depth of field by setting our aperture wide). You can achieve this look by using the portrait mode on your phone. The camera phone blurs the background and puts the focus on the subject. Best used for individual, couple’s portraits and even makes food look good but practice by varying the distance.
- SHOW ME THE LIGHT
Light is key when taking good photos so understanding where your light is and how to position yourself/subject is important. Put your camera phone on selfie and do a full spin to see where the light is hitting you most flattering. You may also want to try backlight so when the light source is behind you, it creates a halo effect.

- HONE IN ON YOUR FOCUS
Phone cameras are normally set to automatic focus but sometimes the subject is not so obvious, or you may want to change the focus point. To adjust where you want your phone camera to focus, simply tap on the subject and a square icon will appear. This will shift your focus and sharpen your subject.

- VARY YOUR SHOTS
Rather than taking the same type of shot over and over again, try changing the perspective (go higher up or lower down). Another tip when photographing building or landmarks is to use the panoramic mode vertically (going up or down). This lets you take a series of photos and stitch them together into one wide or tall image.

- READY, STEADY, GO!
Nobody likes blurry images, well unless you are creating a purpose blur! To minimise camera shake use both hands or lean on a surface, wall or even a friend’s shoulder to create stability. For low light conditions, time lapse and long exposure, purchasing a small tripod can be more helpful.

- LOOK THROUGH AND EDIT YOUR IMAGES
Taking a good photo on your mobile phone is just the first step and with a few tweaks you can turn your good photos into great photos! Most mobile phones now come with editing features such as exposure, contrast, white balance, crop, sharpness, and magic wand. If you want to further edit your images, there are editing apps such as Snapseed, Adobe Photoshop Express and Instagram offer further features as well as one tap filters. Try converting your image to black and white to create a certain mood!
I hope by following these top tips you will see a difference and start taking better photos on your mobile phone. Practising and experimenting is the best way to learn, so have a play on your phone and see what works for you but most importantly have fun!!
If you want to further develop and compose photos creatively then why not sign up to my adult mobile phone workshop. I will be running them at my home studio in North London, N20 from January 2024. Contact me for further details.


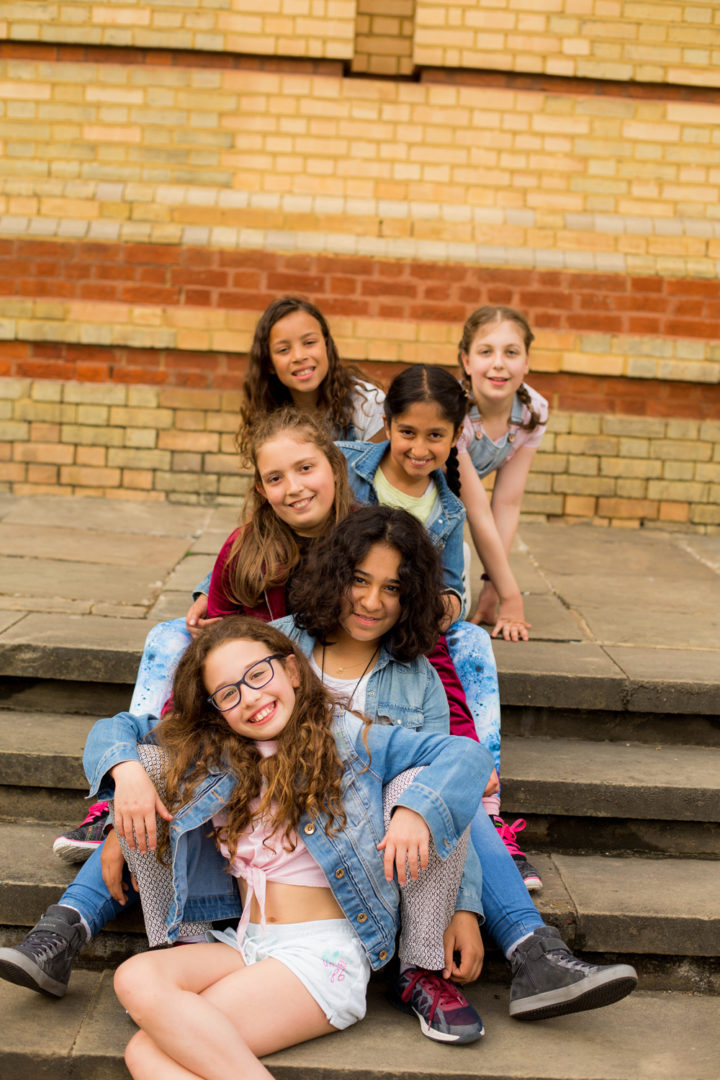


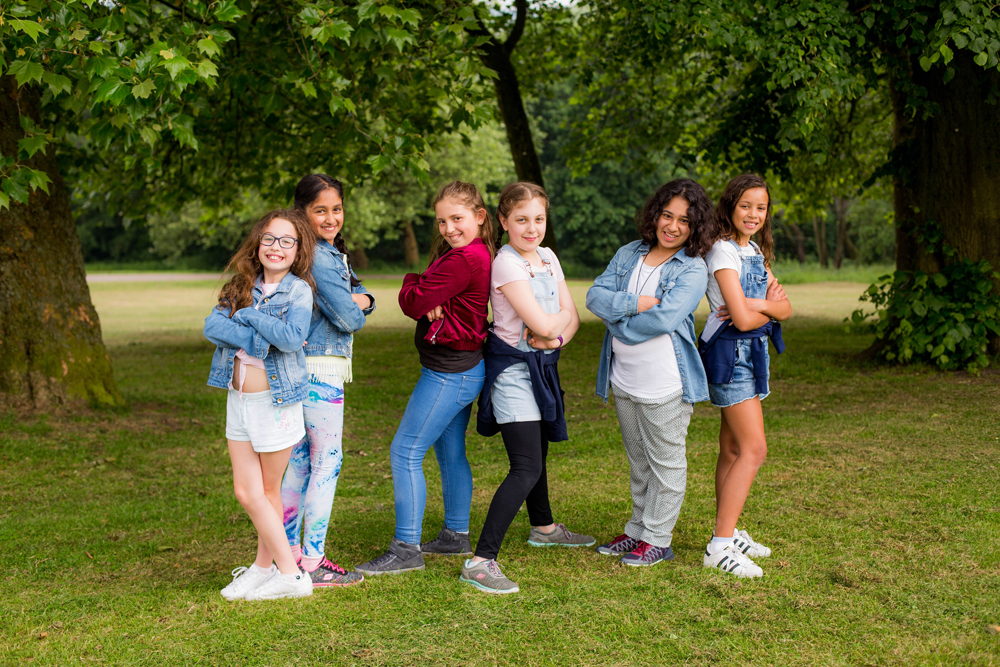


That’s some really cute pictures! Love the happiness and brightness!